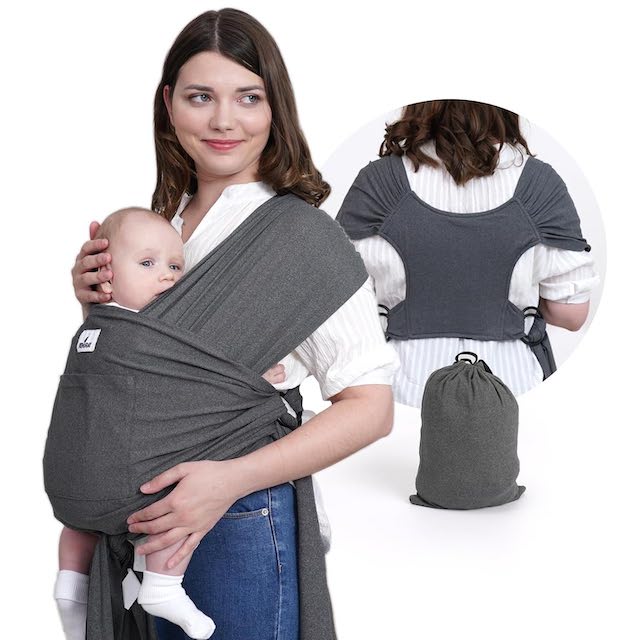
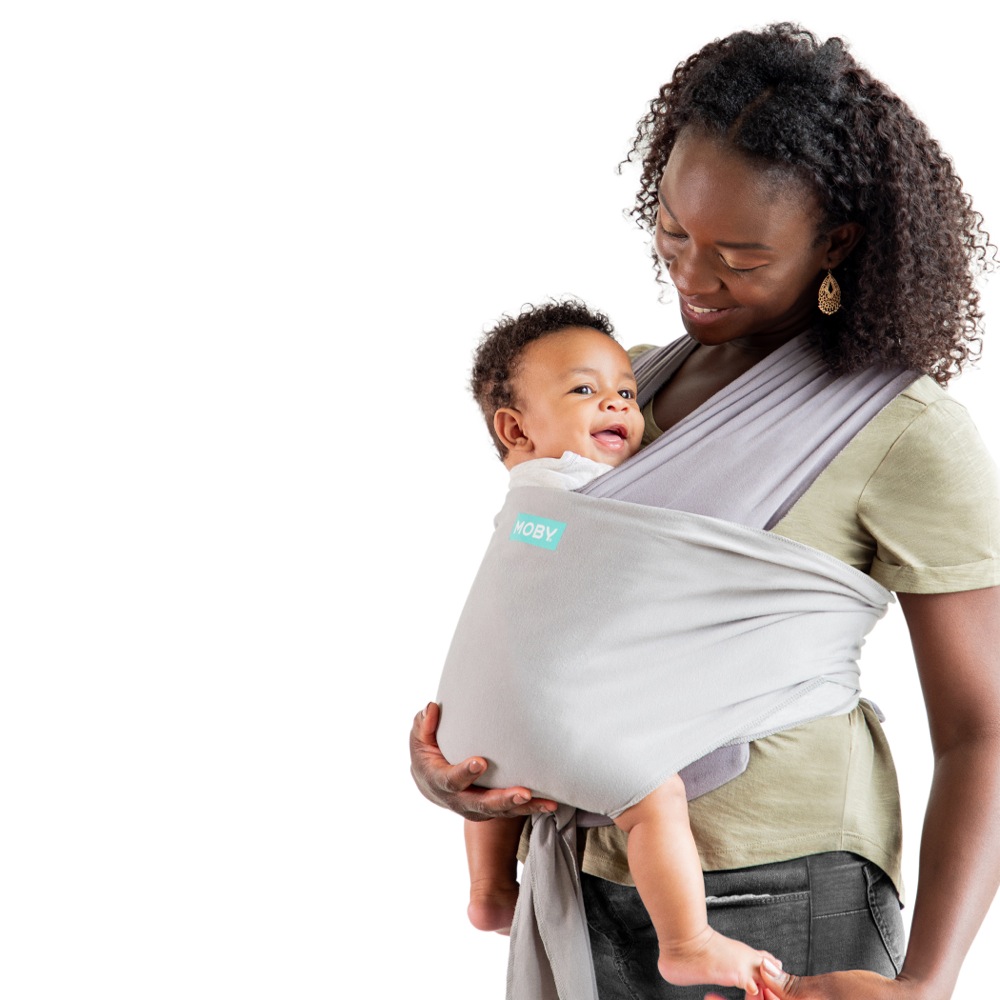
Introduction to Baby Wrap Carriers
Baby wrap carriers are essential for new parents. These carriers allow you to keep your newborn close while keeping your hands free. Comfort and connection are key benefits when using a baby wrap carrier. It’s a long piece of fabric you tie around your body. This creates a snug spot for your little one to nestle and sleep. Baby wrap carrier how to tie newborn? Choosing a wrap carrier can seem tricky at first. But once you get the hang of how to tie it properly, it’s a game changer. Baby wrap carriers are adaptable to various body types. They offer different tying styles to suit your comfort and the baby’s needs.
Learning how to tie a baby wrap carrier is crucial. It ensures the safety and comfort of your newborn. We’ll walk you through the basic knots and positions. We’ll also share tips on making the process smoother and more enjoyable for both of you. Let’s make sure your baby wrap experience is a positive one right from the start.
Essential Features of a Newborn Baby Wrap
When seeking a baby wrap carrier for your newborn, there are some must-have features to consider. These elements will ensure that you and your baby are both comfortable and safe. Here’s what to look out for:
- Soft, Breathable Fabric: The material should be gentle on your baby’s sensitive skin. Look for natural fibers like cotton, which allow air to circulate and prevent overheating.
- Stretchability: A good baby wrap must have some stretch to provide snug support for your baby. However, it shouldn’t be too elastic, as it needs to maintain its shape and hold your baby securely.
- Durability: As you’ll be using the wrap frequently, it should withstand repeated washings and use. Durable wraps ensure longevity and safety over time.
- Comfortable Length: The wrap should be long enough to accommodate different tying methods while fitting various body sizes comfortably.
- Ease of Use: Tying a baby wrap carrier can be daunting. Opt for one with straightforward instructions and perhaps an indication on the fabric for alignment or where to tie the knot.
- Ergonomic Design: The baby wrap should support your newborn’s natural posture, promoting healthy hip and spine development while providing adequate head and neck support.
- Machine Washable: With the inevitability of spills and accidents, an easy-to-clean wrap is a lifesaver. Machine washable fabrics are incredibly convenient.
By keeping these essential features in mind, you’ll be more likely to choose a baby wrap carrier that’s easy to tie, comfortable for both you and your newborn, and will stand the test of time.
Preparing Your Baby Wrap for Use
Before you start tying your baby wrap carrier, it’s important to prepare it properly. Follow these simple steps to ensure your wrap is ready for use:
- Check the Wrap: Inspect the baby wrap for any damage, such as tears or frayed edges. A damaged wrap may not be safe for your newborn.
- Wash the Wrap: If it’s new or has been stored, wash your baby wrap carrier according to the care label. This will also make the fabric softer for your baby’s skin.
- Iron if Necessary: Ironing can help remove any creases and make the baby wrap easier to handle. Use a low heat setting suitable for the fabric.
- Practice with a Doll: If you’re new to using a wrap carrier, practice tying it with a doll first. This will help you get comfortable with the process.
- Adjust the Length: Depending on your body size and the tying style, you may need to adjust the wrap’s length. It should be just long enough to tie securely without excess fabric.
- Align the Fabric: Find the center of the wrap, often marked by the manufacturer, and align it with your navel. This will create a balanced base for your newborn.
Once you’ve prepared the wrap, you are ready to learn the steps for tying it securely. Patience and practice will help you become proficient at using your baby wrap carrier for your newborn.
Step-by-Step Guide to Tying a Basic Knot
Tying a baby wrap carrier for your newborn doesn’t have to be daunting. With a bit of practice, it can become second nature. To get started, follow this simple guide on how to tie the basic knot. Ensuring the baby’s safety and your comfort is essential, so take your time to understand each step.
- Find the Center: Locate the middle of your baby wrap. This is often marked by the manufacturer with a tag or a label.
- Place the Wrap: Hold the wrap around your waist. Keep the center of the wrap aligned with your navel.
- Create a Cross: Take the two ends of the wrap and cross them behind your back. Pull them over your shoulders to the front.
- Over and Under: Once you have the ends over your shoulders, tuck them under the horizontal part on your waist. Ensure it’s snug but not too tight.
- Cross Again: Cross the ends again in front of your body, making an ‘X’ over your chest. This is where your baby will sit.
- Tie the Knot: Bring the ends around your waist to the back. If there’s enough length, you can tie the knot on the front or side. Make sure the knot is secure but can be untied easily if needed.
Practice makes perfect, and soon you’ll be able to tie your baby wrap carrier quickly and confidently. Remember to check the carrier’s position often and adjust the tightness for your newborn’s safety and comfort.
Safety Tips When Using a Baby Wrap
Safety should always come first when you are using a baby wrap carrier with your newborn. Here are some important tips to keep in mind to ensure that your baby is secure and that you are using the wrap correctly:
- Always Check for Damage: Before each use, inspect your wrap for any signs of wear or damage. Look for rips, tears, or frayed fabric that could compromise the wrap’s integrity.
- Ensure Proper Positioning: Your baby’s airway must remain clear at all times. Position your newborn in an upright position, with their face visible and kissable, to monitor their breathing.
- Keep Baby’s Chin Off Chest: Prevent your baby’s chin from resting on their chest. This position can restrict their airway. A two-finger gap between chin and chest is a good rule of thumb.
- Provide Support for Head and Neck: Newborns need support for their head and neck as they cannot hold it up on their own. Make sure the wrap offers adequate support in these areas.
- Avoid Overdressing: Overdressing can lead to overheating. Dress your baby appropriately for the weather and consider the wrap as an additional layer.
- Use the Hip-Healthy Position: Ensure the baby’s hips are in the ‘M’ position, with knees higher than their bottom. This promotes healthy hip development.
- Practice Tying the Wrap: Become skilled at tying the wrap without your baby in it first. This will make it easier and safer when you do include your baby.
- Don’t Ignore Discomfort: If you or your baby feel discomfort, adjust the wrap or take a break. Comfort is important for both of you.
By following these safety tips, you can enjoy the many benefits of babywearing while keeping your newborn snug and safe in their baby wrap carrier.
Different Styles of Baby Wrap Ties for Newborns
As you gain confidence in tying a baby wrap carrier, you can explore various styles. Different styles suit different needs and preferences. Some offer ease of use, while others provide extra support. Here’s a rundown of some popular baby wrap ties for newborns:
- Front Carry, Pocket Wrap Cross Carry: This style is great for beginners. It keeps your baby snug against your chest, providing comfort and easy monitoring.
- Front Wrap Cross Carry: Similar to the Pocket Wrap Cross Carry, this tie has an additional pass. It distributes the baby’s weight more evenly, which may improve comfort for the wearer.
- Hip Wrap Cross Carry: Once your newborn has more head control, this style is an option. It allows your baby to view their surroundings while still being close to you.
- Kangaroo Carry: Ideal for skin-to-skin contact, the Kangaroo Carry supports the newborn’s back and allows for easy breastfeeding.
- Twist Wrap Cross Carry: This variation adds a twist in the fabric for a firmer fit. It can provide extra support for both baby and parent.
Each of these styles has its unique set of steps for tying the baby wrap carrier. Whichever style you choose, ensure it’s comfortable for you and safe for your newborn. With each wrap, check that your baby’s airway is clear and they are in a healthy hip position.
As you try different styles, practice tying the wrap without your baby first. That way, you can adjust the length and tightness before placing your newborn in the carrier. Always remember to refer to the manufacturer’s guidelines for specific instructions.
Troubleshooting Common Issues
When learning how to tie a baby wrap carrier, new parents might face some common issues. Here’s how to address them effectively:
- Wrap is Too Loose: A loose wrap can make your newborn sag or shift position, which is not safe. To fix this, untie and pull the fabric tighter as you re-tie the knot.
- Wrap is Too Tight: If the baby wrap carrier is too tight, it can be uncomfortable for both you and your baby. Loosen the wrap slightly by adjusting where the fabric crosses on your body.
- Difficulty in Tying: Many parents struggle with tying the baby wrap at first. Keep practicing without your baby in the carrier. Watch tutorial videos if the manufacturer provides them.
- Baby Seems Unsettled: If your newborn seems fussy in the wrap, first, ensure they are not too hot or cold. Then, check that they are not too tight in the wrap. Their position should be snug but comfortable.
- Fabric Bunching Up: Fabric that bunches can cause discomfort. Spread the fabric evenly across your shoulders and back to distribute your baby’s weight more comfortably.
- Back or Shoulder Pain: If you experience pain, the wrap might not be tied correctly, or the weight may not be distributed evenly. Adjust the wrap for better support, and take breaks if needed.
Baby wrap carrier how to tie newborn? With time and practice, tying your baby wrap carrier will become easier. Don’t hesitate to reach out to a babywearing consultant or join a local babywearing group for hands-on help.

Caring for Your Baby Wrap Carrier
To keep your baby wrap carrier in top-notch condition, follow these care tips:
- Wash Gently: Use a mild detergent and a gentle cycle on your washing machine.
- Avoid Bleach: Bleach can weaken the fabric fibers, reducing the carrier’s lifespan.
- Skip the Fabric Softener: Fabric softener can reduce the wrap’s grip, making it less safe.
- Dry Naturally: Hang your wrap to dry. Avoid high heat from the dryer that can shrink or damage the fabric.
- Store Properly: When not in use, fold the wrap and store it in a cool, dry place to prevent mildew.
- Check Regularly: Before each use, look over your wrap for signs of wear that could affect its safety.
- Follow the Manual: Each wrap has specific care instructions. Always check the manufacturer’s guide.
Taking good care of your baby wrap carrier ensures it remains safe and comfortable for your newborn. With proper maintenance, it can last for as long as you need it. Remember, the cleaner and better-maintained it is, the more snugly and happily your baby will nestle against you.